Photography
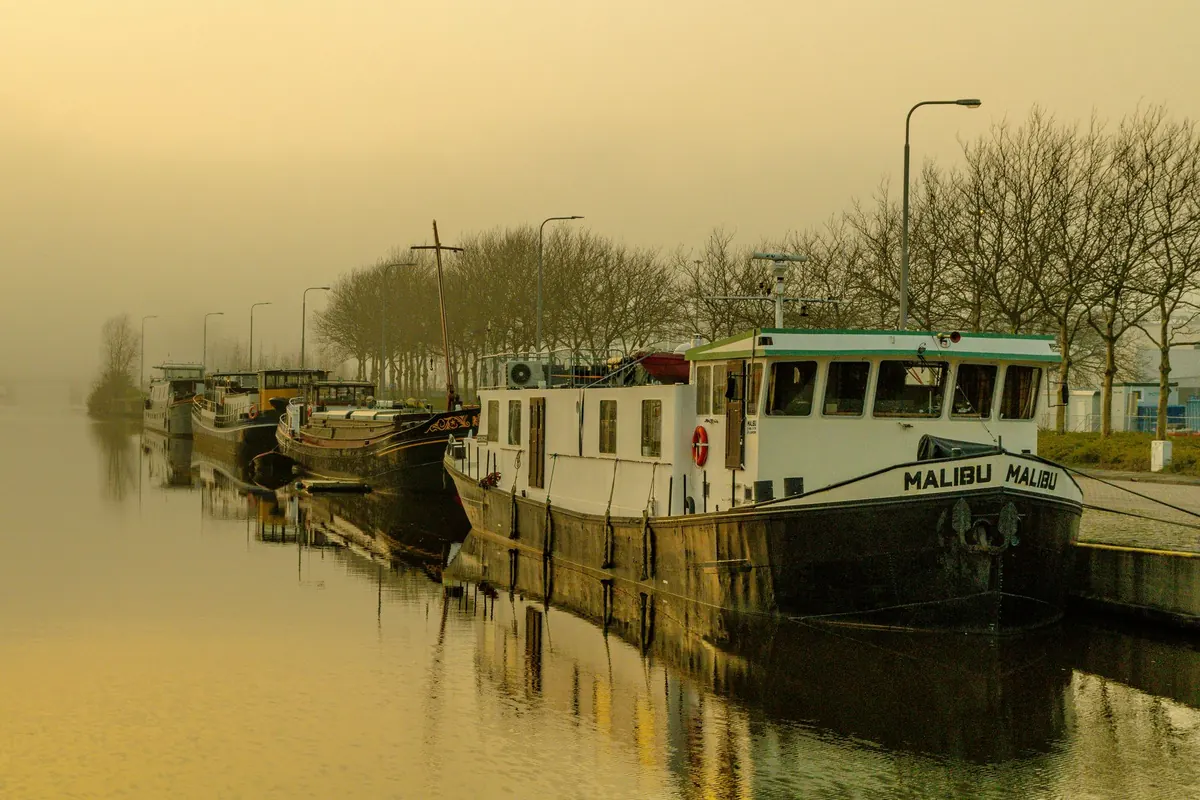
Winter Lagoon Photography: Mist, Quiet Canals, and Low-Light Safety
The lagoon changes character in winter. Water turns the colour of pewter, the far shore disappears into a soft grey nothing, and the canals that were shoulder-to-shoulder in July are suddenly yours. It is the best season for atmospheric photographs and the worst season for improvising: the light arrives late, leaves early, and the hours in between are cold, damp and often very dark.
What follows is a working approach rather than a list of settings. It assumes you already know how to hold a camera. It is about reading conditions, choosing where to stand, and getting home with dry gear and intact ankles.
Read the Weather Before You Pack the Bag
Fog is not random. It forms most readily on clear, cold, still nights, when the water is warmer than the air above it and there is little wind to mix the layers. A forecast with high humidity, a dew point close to the overnight temperature and near-calm wind is your invitation. Add a steady breeze and the mist breaks into rags and drifts; that can be beautiful, but it is a different picture.
Tide matters as much as temperature. In the upper lagoon, a high tide combined with a low-pressure system and a strong southerly can push water over the fondamenta, and your carefully planned dawn spot may be knee-deep. Check the tide forecast the night before and again at breakfast, and know a second location that sits higher.
Timing is straightforward: mist is thickest at first light and usually thins within an hour or two of sunrise. Arrive forty minutes before the sun is due up. In December that means something like seven in the morning, which is a civilised hour for anyone who has chased summer sunrises at four.
Exposing for Mist Without Turning It Grey
A camera meter wants to make everything average. Point it at a wall of white fog and it will dutifully underexpose, giving you a dull, muddy file. Add exposure compensation, generally somewhere between plus one and plus two stops, and check the histogram rather than the preview on the back of the camera. In mist you want the tones pushed towards the brighter end without clipping the highlights. Shoot raw so you can pull the scene apart later.
Build the Frame in Layers
Fog removes the background, which is a gift: suddenly the clutter of a busy waterfront is gone and only silhouettes remain. Use that. Find a dark foreground object — a mooring pole, a stone step, the bow of a covered boat — and let it anchor the bottom of the frame while the distance dissolves. A long lens compresses those layers into something almost graphic; a wide lens does the opposite and makes emptiness the subject.
Let the Water Work
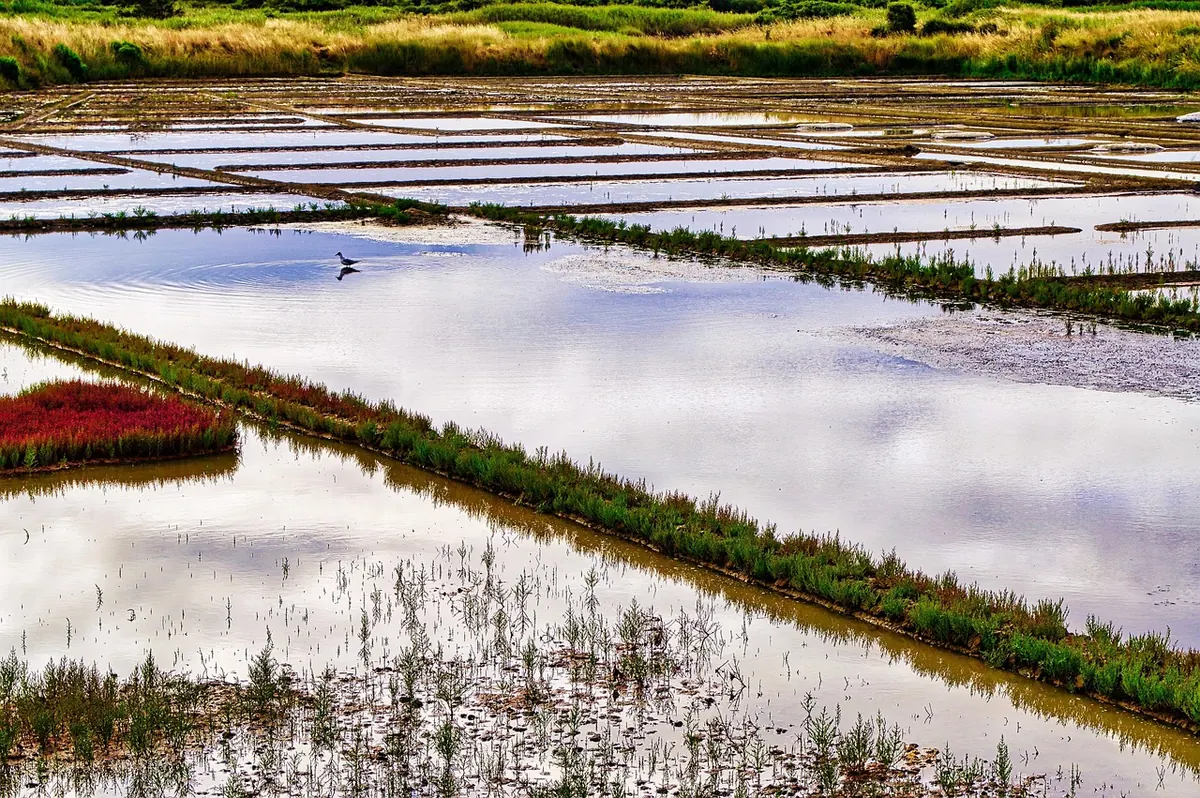
Still water in a quiet canal gives you a second, softer version of everything above it. When there is no wind and no boat traffic, exposures of two to eight seconds smooth the surface into a mirror, which is why a small tripod and a polariser earn their space in the bag. Keep an eye out for the wake of a passing delivery boat; it will ruin a thirty-second exposure and there is no way to edit it out.
Working the Quiet Canals
The photogenic lagoon in winter is not the postcard view. It is the residential rio two bridges back from the main drag, where a laundry line hangs across the water and someone is hosing down a doorstep at half past seven. Walk slowly. The best frames tend to appear at corners where the light changes direction, and they last about four seconds.
Behave like a guest, because you are one. Do not block doorways, do not photograph into lit windows, and step aside for anyone carrying shopping or pushing a trolley. In winter, locals notice photographers more, not less, because there are fewer of us about.
For composition, look for contrast rather than prettiness: a dark hull against pale water, a strip of bright sky reflected in a channel between buildings, the single warm window in a street of shutters. Mid-morning, when the sun is low and sideways, throws long shadows across wet stone that you simply cannot get in June.
Plan Around a Short Day
Sunset in the lagoon in midwinter falls shortly after half past four, and the useful blue hour is over by five. That leaves a strange, generous middle of the day that most photographers waste. Use it deliberately.
- Dawn to mid-morning: shoot mist, reflections and empty calli. This is the main event.
- Late morning to early afternoon: scout. Walk the evening route in daylight, note where you can put a tripod without blocking anyone, and find two or three frames you want.
- Late afternoon: shoot the low sun raking across facades, then stay for blue hour.
- After dark: eat, back up the card, dry the gear. Do not force a night shoot if you are tired and cold.
Three good photographs from a planned day beat forty accidental ones. Before you leave in the morning, decide on a maximum of three subjects and let the rest go.
Low-Light Safety on and Beside the Water
This is the part that gets skipped in favour of settings advice, and it is the part that matters. Winter photography means moving around in the dark on wet stone next to deep, cold water, often alone.
- Carry a headlamp with a red mode, plus spare batteries. Red preserves your night vision and is less intrusive to residents.
- Tell someone your rough route and expected return time, especially for a dawn start.
- Keep a metre back from unlit edges. Wet masegni and algae-covered steps are genuinely slippery, and the water is cold enough to incapacitate quickly.
- Wear something bright or reflective over your dark winter coat. Boaters and cyclists need to see you.
- Give way to mooring lines and bollards; a tripod leg caught in a rope is a fast route to the water.
- If you are on a boat, wear the life jacket, sit down, and keep your bag low and closed. Do not stand for the shot.
- Keep your phone in an inner pocket where the cold will not flatten the battery, and note your exit route before you commit to a dead-end jetty.
- Layer properly, use gloves with fold-back fingertips, and take a warm break every hour or so. Cold hands make for dropped cameras.
- Check the tide again before an evening shoot, and know which streets stay dry if the water rises.
If you have a heart or circulation condition, or you are travelling with someone who does, treat the cold and damp as a real constraint rather than an inconvenience and take advice from a qualified professional before planning long hours outdoors.
A Winter Routine Worth Repeating
The night before, charge everything, pack the bag, and look at the forecast and the tide together. In the morning, arrive early, shoot the mist until it lifts, then stop. Spend the flat middle of the day walking your evening route, checking tripod spots and eating something hot. Return for the last hour of light and the blue hour, then pack up before the cold makes you careless.
Back home, take the camera out of the bag, wipe down everything that touched water, and let the gear come up to room temperature slowly before you change lenses. Winter light in the lagoon is generous with atmosphere and stingy with hours. A little planning is all it asks in return.
Related Articles